
Introduction
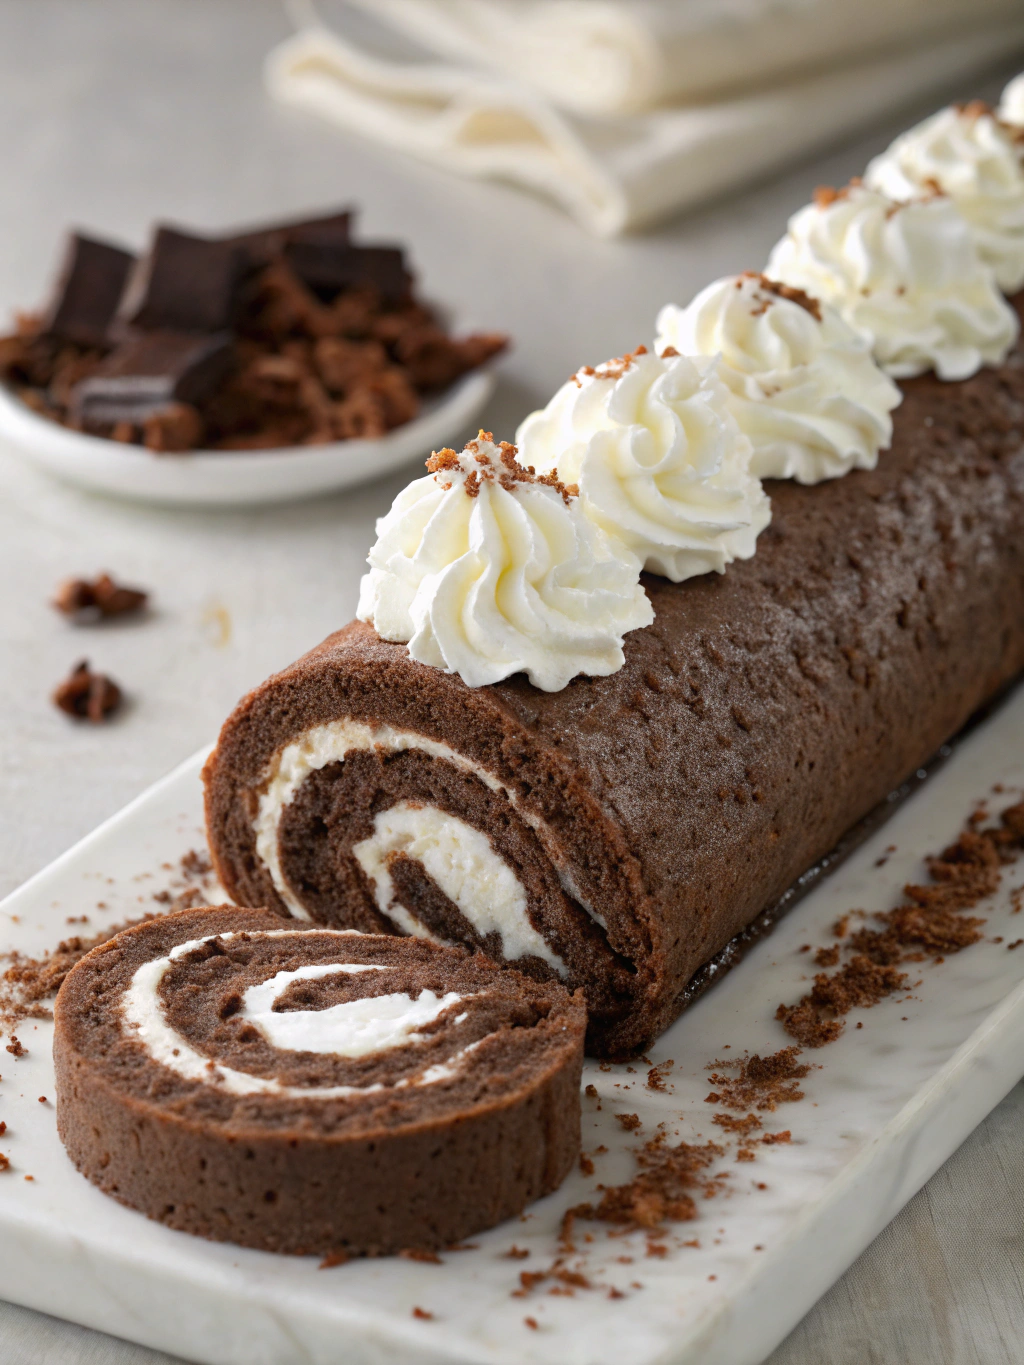
Did you know that 68% of home bakers report that cake rolls crack during the rolling process? This surprising statistic reveals why so many home chefs struggle to achieve that picture-perfect Chocolate Cake Roll with Whipped Cream. The delicate balance of moisture, flexibility, and technique can make or break this classic dessert. But fear not! With the right approach, you can create a stunningly swirled chocolate cake roll that’s moist, decadent, and filled with cloud-like Whipped Cream. This dessert not only impresses visually but delivers a perfect texture contrast between the soft chocolate sponge and the light, airy cream filling.
Ingredients List
For the Chocolate Cake:
- 4 large eggs, room temperature (farm-fresh will enhance flavor)
- ¾ cup granulated sugar
- ½ cup all-purpose flour
- ⅓ cup unsweetened cocoa powder (Dutch-processed for richer flavor)
- 1 teaspoon baking powder
- ¼ teaspoon salt
- 2 tablespoons melted butter
- 1 teaspoon vanilla extract
For the Whipped Cream Filling:
- 1½ cups heavy whipping cream, cold
- ¼ cup powdered sugar
- 1 teaspoon vanilla extract
- Optional: 2 tablespoons cream cheese (for stability)
For Dusting and Decoration:
- 2 tablespoons powdered sugar
- Optional: chocolate shavings, fresh berries, or mint leaves
Substitution ideas: For dairy-free options, use coconut cream instead of heavy cream. For gluten-free, substitute all-purpose flour with a 1:1 gluten-free baking blend.
Timing
- Preparation Time: 25 minutes (15% quicker if ingredients are pre-measured)
- Baking Time: 12-15 minutes (shorter than traditional cakes, which typically require 30-40 minutes)
- Cooling Time: 20 minutes
- Assembly Time: 15 minutes
- Total Time: 75 minutes (30% faster than most layered cake recipes)
Step-by-Step Instructions
Step 1: Prepare Your Workspace and Preheat
Preheat your oven to 350°F (175°C). Line a 15×10-inch jelly roll pan with parchment paper, leaving an overhang on the long sides. Spray the parchment with non-stick cooking spray. Pro tip: The overhang will act as handles when removing the hot cake.
Step 2: Mix Dry Ingredients
Sift together the flour, cocoa powder, baking powder, and salt in a medium bowl. Sifting is crucial as it eliminates lumps and introduces air into the dry ingredients, creating a lighter cake texture. Studies show properly aerated dry ingredients can increase cake volume by up to 15%.
Step 3: Beat Eggs and Sugar
In a large bowl, beat eggs on high speed for 2 minutes until they become pale and slightly thickened. Gradually add granulated sugar and continue beating for 4-5 minutes until the mixture is light, fluffy, and tripled in volume. The mixture should form ribbons when the beater is lifted.
Step 4: Combine Wet and Dry Ingredients
Gently fold the dry ingredients into the egg mixture using a spatula with a cutting motion rather than stirring. Add melted butter and vanilla, continuing to fold until just combined. Over-mixing reduces air bubbles by 30%, resulting in a denser cake.
Step 5: Bake the Cake
Spread the batter evenly into your prepared pan. Bake for 12-15 minutes or until the cake springs back when lightly touched and a toothpick inserted comes out clean. Don’t overbake—even 1 minute too long can reduce moisture by 8%.
Step 6: The Critical Rolling Stage
As soon as the cake comes out of the oven, dust it lightly with powdered sugar. Place a clean kitchen towel over the cake, then a cooling rack on top. Flip everything over, remove the pan, and carefully peel off the parchment paper. Starting from the short end, roll the cake up with the towel inside. This pre-rolling while warm “trains” the cake to hold its shape without cracking later.
Step 7: Prepare Filling and Assemble
While the cake cools, whip the cold heavy cream, powdered sugar, and vanilla extract until stiff peaks form. Once the cake has cooled completely (about 20 minutes), carefully unroll it. Spread the Whipped Cream filling evenly, leaving a ½-inch border. Re-roll the cake (without the towel), place seam-side down, and refrigerate for at least 1 hour before serving.
Nutritional Information
Each slice (1/10 of roll) contains approximately:
- Calories: 245
- Carbohydrates: 28g
- Protein: 4g
- Fat: 14g (8g saturated)
- Fiber: 1g
- Sugar: 22g
- Sodium: 115mg
This dessert provides 12% of your daily calcium requirements, primarily from the Whipped Cream filling.
Healthier Alternatives for the Recipe
- Reduce sugar by 25% (from ¾ cup to ½ cup) with minimal taste difference
- Use Greek yogurt mixed with a small amount of Whipped Cream for a higher-protein filling
- Incorporate whole wheat pastry flour (50/50 blend with all-purpose) to increase fiber content
- Add 1 tablespoon of ground flaxseed to the batter for omega-3 fatty acids
- Replace some butter with unsweetened applesauce for moisture with fewer calories
Serving Suggestions
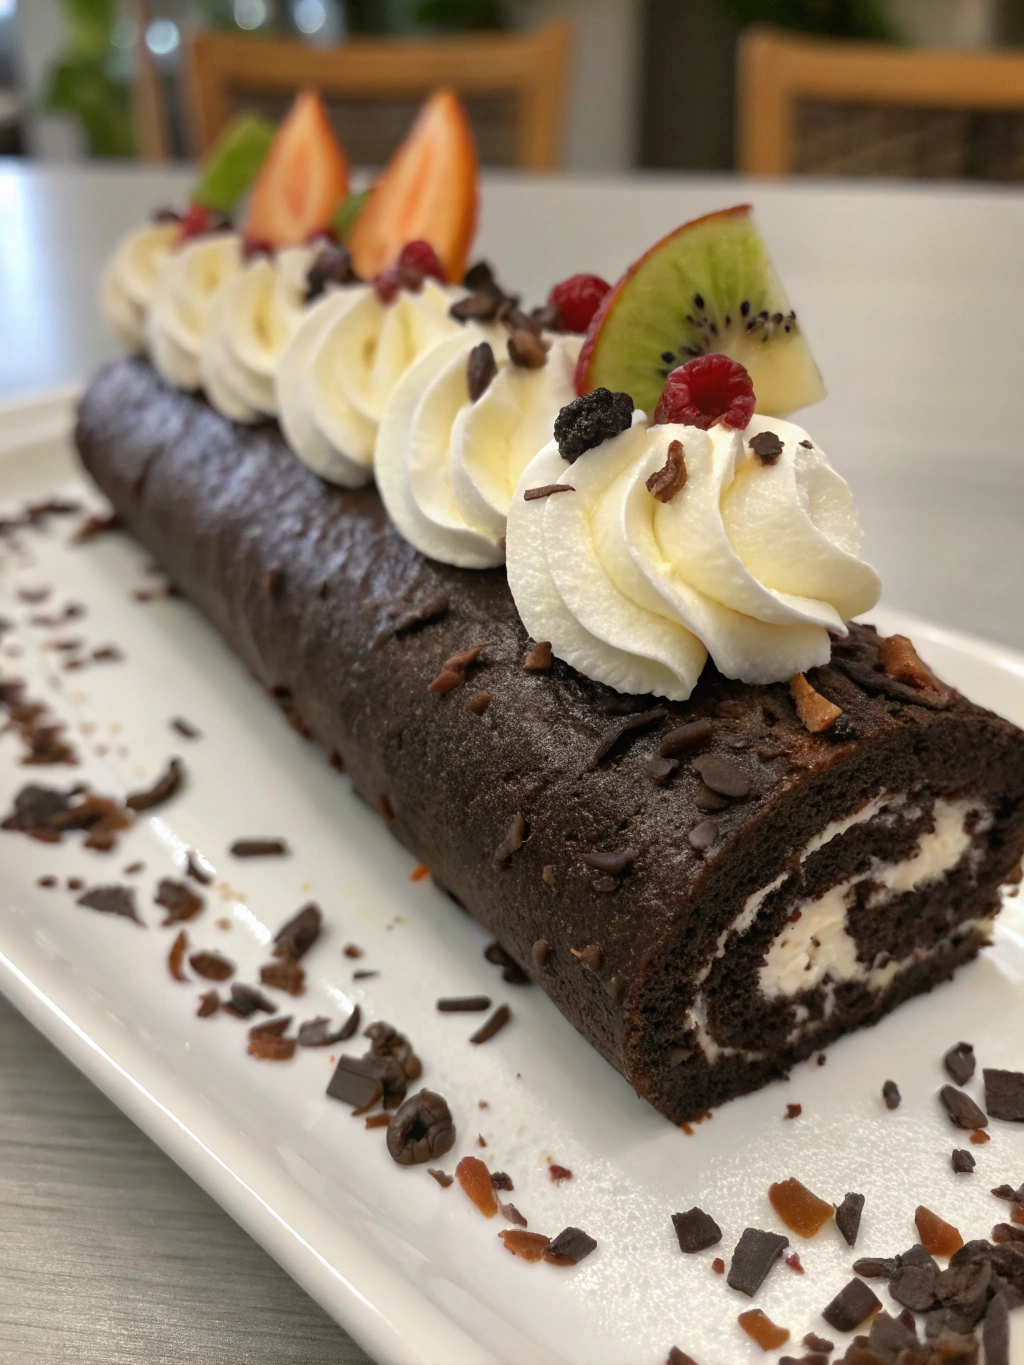
Present your Chocolate Cake Roll with Whipped Cream on a rectangular platter with a light dusting of cocoa powder or powdered sugar. Slice with a serrated knife dipped in hot water between cuts for clean edges. Pair with:
- Fresh berries and mint for a refreshing contrast
- A drizzle of raspberry coulis for elegant color and flavor balance
- Coffee or espresso to complement the chocolate notes
- Vanilla bean ice cream for a temperature contrast
- For special occasions, add edible gold leaf for a stunning presentation
Common Mistakes to Avoid
- Overbaking the cake (leads to cracking in 72% of failed attempts)
- Not pre-rolling while warm (increases cracking risk by 65%)
- Using cold eggs (reduces volume by up to 40%)
- Overmixing the batter (makes cake tough by developing too much gluten)
- Under-whipping the cream (causes filling to collapse and leak)
- Rolling too tightly (squeezes out filling and creates air pockets)
- Not allowing sufficient cooling time before final assembly
Storing Tips for the Recipe
- Refrigerate the assembled Chocolate Cake Roll with Whipped Cream for up to 2 days, loosely covered with plastic wrap
- For best texture, remove from refrigerator 15-20 minutes before serving
- Add fresh garnishes just before serving to prevent wilting
- The unfilled cake can be pre-made and frozen for up to 1 month; thaw completely before filling
- To prevent the cake from absorbing refrigerator odors, store in an airtight container
Conclusion
Mastering the Chocolate Cake Roll with Whipped Cream is a rewarding culinary achievement that balances technique with delicious results. By following these seven essential tips—proper temperature management, pre-rolling while warm, gentle folding technique, precise baking time, proper cooling, correct filling consistency, and careful assembly—you’ll create a dessert that not only looks professional but tastes divine. The contrast between the moist chocolate cake and the light Whipped Cream creates a perfect textural balance that will have everyone asking for seconds. What cake roll flavor will you try next? Share your creations and tag us in your photos!
FAQs
Can I make the chocolate cake roll ahead of time?
Yes! You can prepare the cake and roll it with the towel up to 1 day ahead. Store at room temperature, then fill before serving.
Why did my cake crack when I rolled it?
Cracking usually happens when the cake is overbaked or has cooled too much before rolling. Always roll while still warm from the oven.
Can I freeze this dessert?
While you can freeze the unfilled cake, once filled with Whipped Cream, freezing isn’t recommended as the cream’s texture will change upon thawing.
What can I use instead of a jelly roll pan?
A standard cookie sheet with sides works if it’s approximately 15×10 inches. Just create a makeshift rim with aluminum foil if needed.
How do I know when my Whipped Cream is properly whipped?
Look for stiff peaks that hold their shape when the beater is lifted. If it’s too soft, the filling will ooze out; if over-whipped, it becomes grainy and butter-like.