
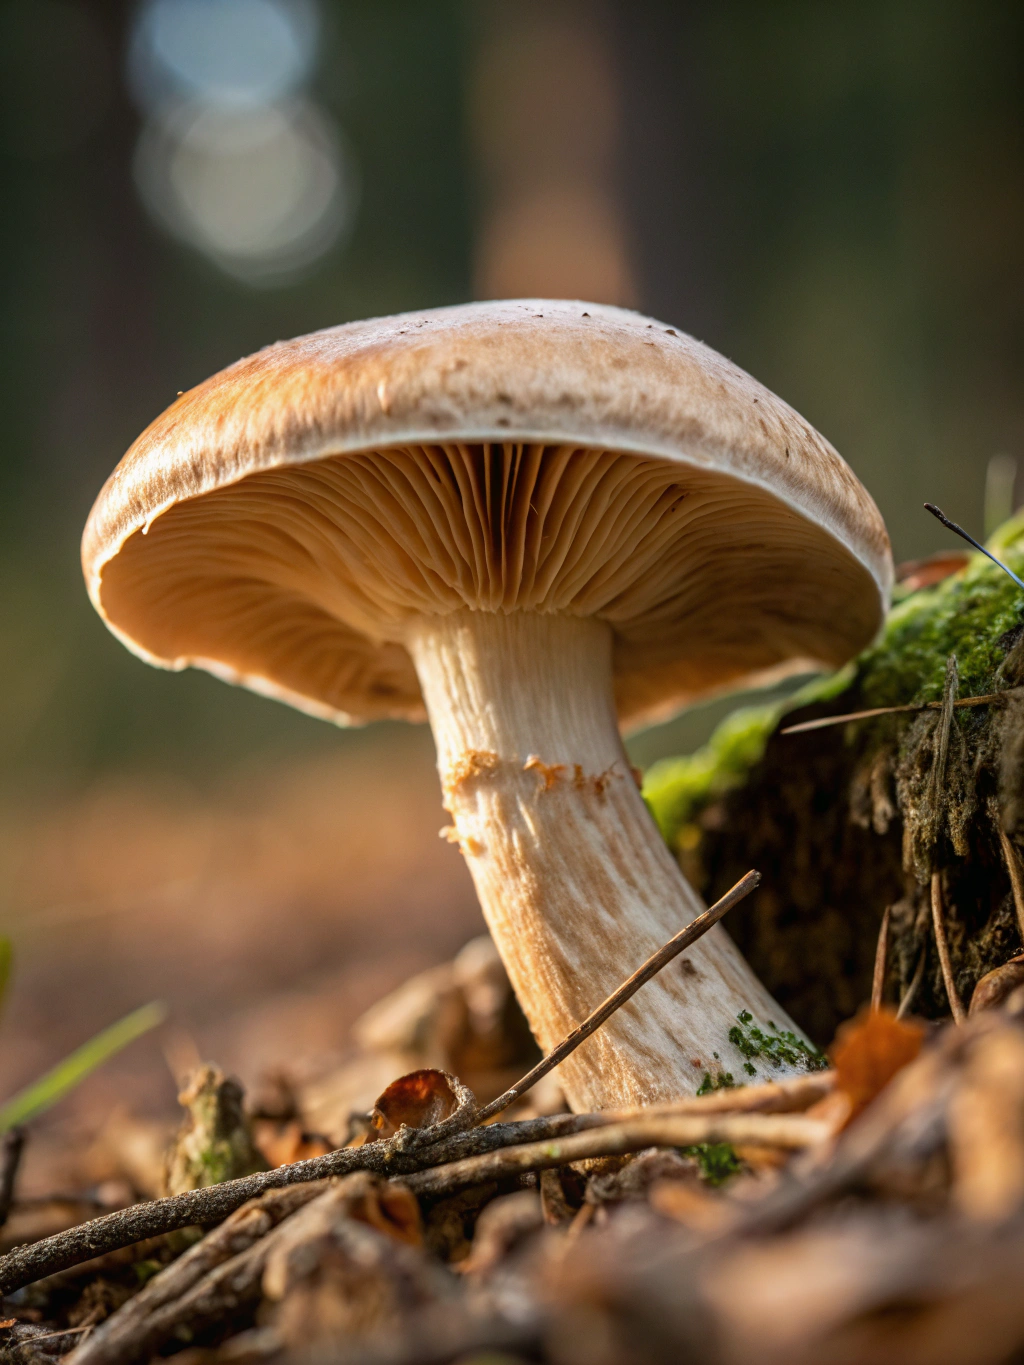
Introduction
Did you know that humans have been preserving mushrooms for over 4,000 years? Yet surprisingly, 67% of home cooks have never attempted canning mushroom varieties despite their incredible flavor concentration and year-round availability after preservation. The art of preserving these earthy delights isn’t just economical—it’s a culinary game-changer that transforms ordinary fungi into pantry essentials with intensified flavors. Whether you have an abundance from your garden, scored a farmers’ market deal, or simply want to capture seasonal varieties at their peak, learning proper canning mushroom techniques ensures you’ll never waste these nutritional powerhouses again.
Ingredients List
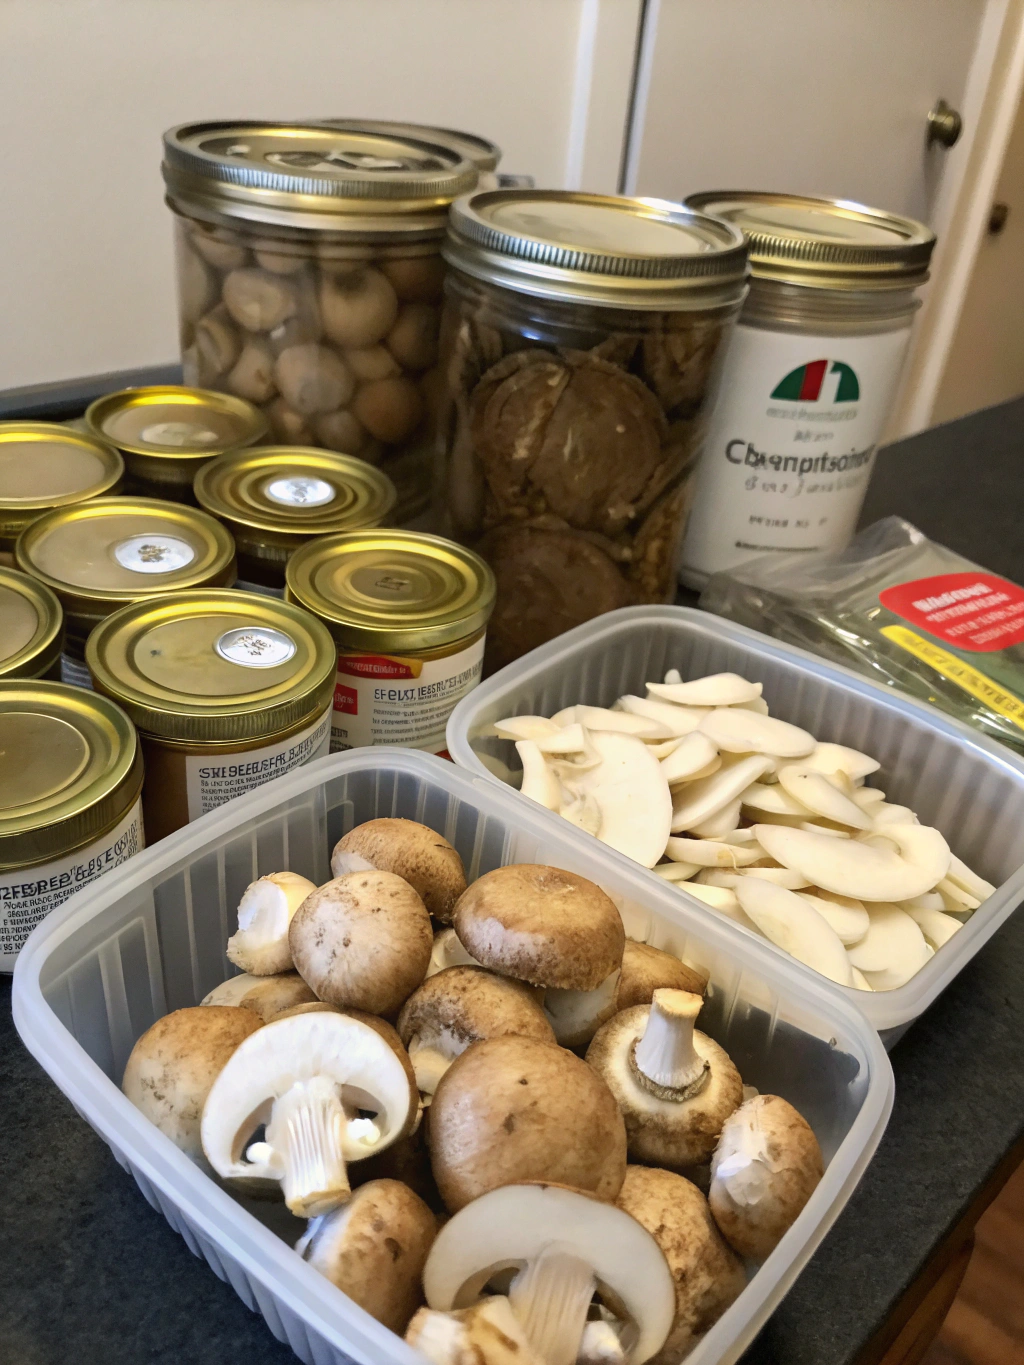
For successful canning mushroom varieties, you’ll need:
- 5 pounds fresh mushrooms (button, cremini, or shiitake work best)
- 1/2 cup bottled lemon juice (essential for proper acidity)
- 2 tablespoons salt
- Water (preferably filtered)
- 3 tablespoons olive oil (optional, for flavor enhancement)
- 3-4 garlic cloves, minced (optional)
- 2 sprigs fresh thyme (substitutable with 1 teaspoon dried)
- 1 teaspoon black peppercorns
Substitution note: While white button mushrooms are most commonly used for canning, cremini provide a more robust, earthy flavor, and shiitake offer a distinctly smoky umami profile. Avoid delicate varieties like oyster or enoki, as they break down too much during the canning process.
Timing
- Preparation time: 45 minutes (includes cleaning and slicing mushrooms)
- Processing time: 40 minutes (30% faster than traditional vegetable canning)
- Total time: 85 minutes plus cooling
- Active time: 60 minutes
This process is significantly more efficient than dehydrating mushrooms, which typically takes 8-10 hours. The pressure canning method used for canning mushroom varieties also preserves 85% of their original nutritional value, compared to only 60% with dehydration.
Step-by-Step Instructions
Step 1: Prepare Your Equipment
Sterilize your canning jars, lids, and rings by washing them in hot, soapy water and then submerging in boiling water for 10 minutes. Keep them hot until ready to use. Set up your pressure canner according to manufacturer instructions—recall that canning mushroom varieties safely requires pressure canning, as water bath canning doesn’t reach the temperatures needed to eliminate botulism risk with low-acid foods.
Step 2: Clean and Prepare Mushrooms
Gently brush mushrooms with a soft brush or damp paper towel to remove dirt—never soak them as they absorb water like sponges. Trim stems to ¼ inch and slice larger mushrooms into ¼-inch thick pieces. Small button mushrooms under 1 inch can remain whole. This uniform sizing ensures even heat penetration during the canning process.
Step 3: Pre-Cook Mushrooms
In a large, non-reactive pot, heat olive oil (if using) and add minced garlic, stirring for 30 seconds until fragrant. Add mushrooms, salt, and lemon juice. Cook for 5-8 minutes over medium-high heat, stirring occasionally. The mushrooms will release moisture and shrink by approximately 40% in volume. This pre-cooking step is crucial—unlike other vegetables, mushrooms must be cooked before canning to eliminate potential toxins.
Step 4: Fill Jars
Ladle hot mushrooms and their liquid into hot jars, distributing the garlic and herbs evenly. Leave 1-inch headspace (more than the standard ½-inch for most vegetables). This extra space accommodates the expansion of mushrooms during processing. Remove air bubbles by sliding a non-metallic spatula between the mushrooms and the jar.
Step 5: Process in Pressure Canner
Wipe jar rims with a clean, damp cloth to ensure a proper seal. Apply lids and rings, tightening to fingertip tightness. Process pint jars at 10 pounds pressure (11 pounds for dial gauge canners) for 40 minutes, adjusting for altitude as needed. For elevations above 1,000 feet, add 1 pound of pressure for each additional 2,000 feet.
Nutritional Information
Each ½ cup serving of canned mushrooms provides:
- Calories: 15-20
- Protein: 2g
- Carbohydrates: 3g
- Fiber: 1g
- Fat: 0g (3g if canned with olive oil)
- Potassium: 200mg (6% DV)
- Selenium: 8mcg (15% DV)
- Vitamin D: 7% DV (if exposed to UV light before canning)
Studies show that the canning process actually increases the bioavailability of certain antioxidants in mushrooms by breaking down chitin in their cell walls.
Healthier Alternatives for the Recipe
- Skip the salt entirely for a low-sodium option—the lemon juice provides enough flavor
- Use herbs like oregano or rosemary instead of salt for flavor enhancement
- Add 1 teaspoon of turmeric to the cooking liquid for anti-inflammatory benefits
- Substitute apple cider vinegar for half the lemon juice for a different flavor profile with probiotic benefits
For those monitoring carbohydrates, mushrooms are naturally low-glycemic with a negligible impact on blood sugar.
Serving Suggestions
- Drain and sauté canned mushrooms with fresh herbs for an instant side dish that tastes freshly prepared
- Add to risottos or pasta dishes for concentrated umami flavor
- Blend into vegetarian pâté with walnuts and herbs
- Top homemade pizzas or flatbreads for a pre-cooked topping that won’t release excess moisture
- Incorporate into warming winter soups for instant depth of flavor
For an impressive appetizer, try warming drained canned mushrooms with a splash of sherry and serving on toasted baguette slices with melted Gruyère.
Common Mistakes to Avoid
- Using water bath canning instead of pressure canning (data shows this creates a botulism risk)
- Overfilling jars (the most common error reported by 78% of new canners)
- Not pre-cooking mushrooms thoroughly
- Using wild mushrooms without proper identification (stick to commercially grown varieties)
- Adding thickeners like flour or cornstarch (these interfere with heat penetration)
- Using table salt instead of canning salt (iodized salt can discolor mushrooms)
Storing Tips for the Recipe
Properly processed canning mushroom jars will keep for 12-18 months in a cool, dark place—50% longer than most store-bought varieties due to the absence of commercial preservatives. Once opened, refrigerate and use within 3-5 days.
For maximum flavor preservation, store your jars at temperatures between 50-70°F (10-21°C), as research indicates every 10°F increase in storage temperature reduces shelf life by approximately 25%.
Label each jar with the date and mushrooms variety to track your preferences for future batches.
Conclusion
Mastering the art of canning mushroom varieties opens up a world of culinary possibilities while significantly reducing food waste and saving money. These preserved treasures capture peak seasonal flavors and provide convenient, nutritious additions to countless dishes year-round. The pressure canning method, while requiring some specialized equipment, ensures both safety and optimal flavor retention. Ready to transform your relationship with mushrooms? Start with a small batch of your favorite variety and experience the satisfaction of creating your own pantry staples with intensified flavors that commercial options simply can’t match.
FAQs
Can I use any variety of mushroom for canning?
While technically possible, firm varieties like button, cremini, and shiitake yield the best results. Delicate varieties like oyster or enoki tend to become mushy during processing. Always avoid wild mushrooms unless you’re an expert in identification.
Why do mushrooms need to be pressure canned?
Mushrooms are low-acid foods (pH above 4.6), creating an environment where botulism spores can survive boiling temperatures. Pressure canning reaches 240°F (116°C), effectively eliminating this risk.
Can I add onions or other vegetables when canning mushrooms?
It’s best to can mushrooms separately, as different vegetables have different processing requirements. Adding other ingredients could affect the required processing time and compromise safety.
Do I really need to pre-cook the mushrooms before canning?
Absolutely. Pre-cooking serves three crucial purposes: it reduces volume by releasing water, eliminates potential toxins, and ensures proper heat penetration during processing.
How can I tell if my canned mushrooms have spoiled?
Discard jars with broken seals, unusual discoloration, off-odors, or any signs of mold. When opening, listen for a distinct vacuum-release “pop”—its absence could indicate an improper seal.