
Introduction
Did you know that Americans waste approximately 30% of their fresh produce before it can be consumed? This staggering statistic raises an important question: How can we preserve our colorful bell peppers when they’re abundant and affordable? How to Freeze Bell Peppers is a skill every home cook should master. This simple preservation technique can save you money, reduce food waste, and ensure you always have these versatile vegetables on hand for soups, stir-fries, and casseroles. Whether you’ve scored a great deal at the farmers’ market or your garden is overflowing with peppers, freezing is the perfect solution for extending their usefulness beyond their short fresh shelf life.
Ingredients List
- Fresh bell peppers (any color: red, green, yellow, orange)
- Cutting board
- Sharp knife
- Colander or strainer
- Paper towels or clean kitchen towels
- Baking sheet
- Parchment paper
- Freezer bags or airtight containers
- Permanent marker (for labeling)
- Optional: Vacuum sealer for extended freshness
Substitution ideas: While this process is specifically for bell peppers, the same technique works beautifully for jalapeños (without seeds for less heat) or mini sweet peppers (freeze whole after removing stems and seeds).
Timing
- Preparation time: 15-20 minutes
- Freezing time: 2-3 hours for flash freezing
- Total time: Approximately 3 hours (with only 20 minutes of active work)
This efficient process takes 30% less time than traditional blanching methods often recommended for freezing vegetables, making it perfect for busy households looking to preserve their produce quickly.
Step-by-Step Instructions
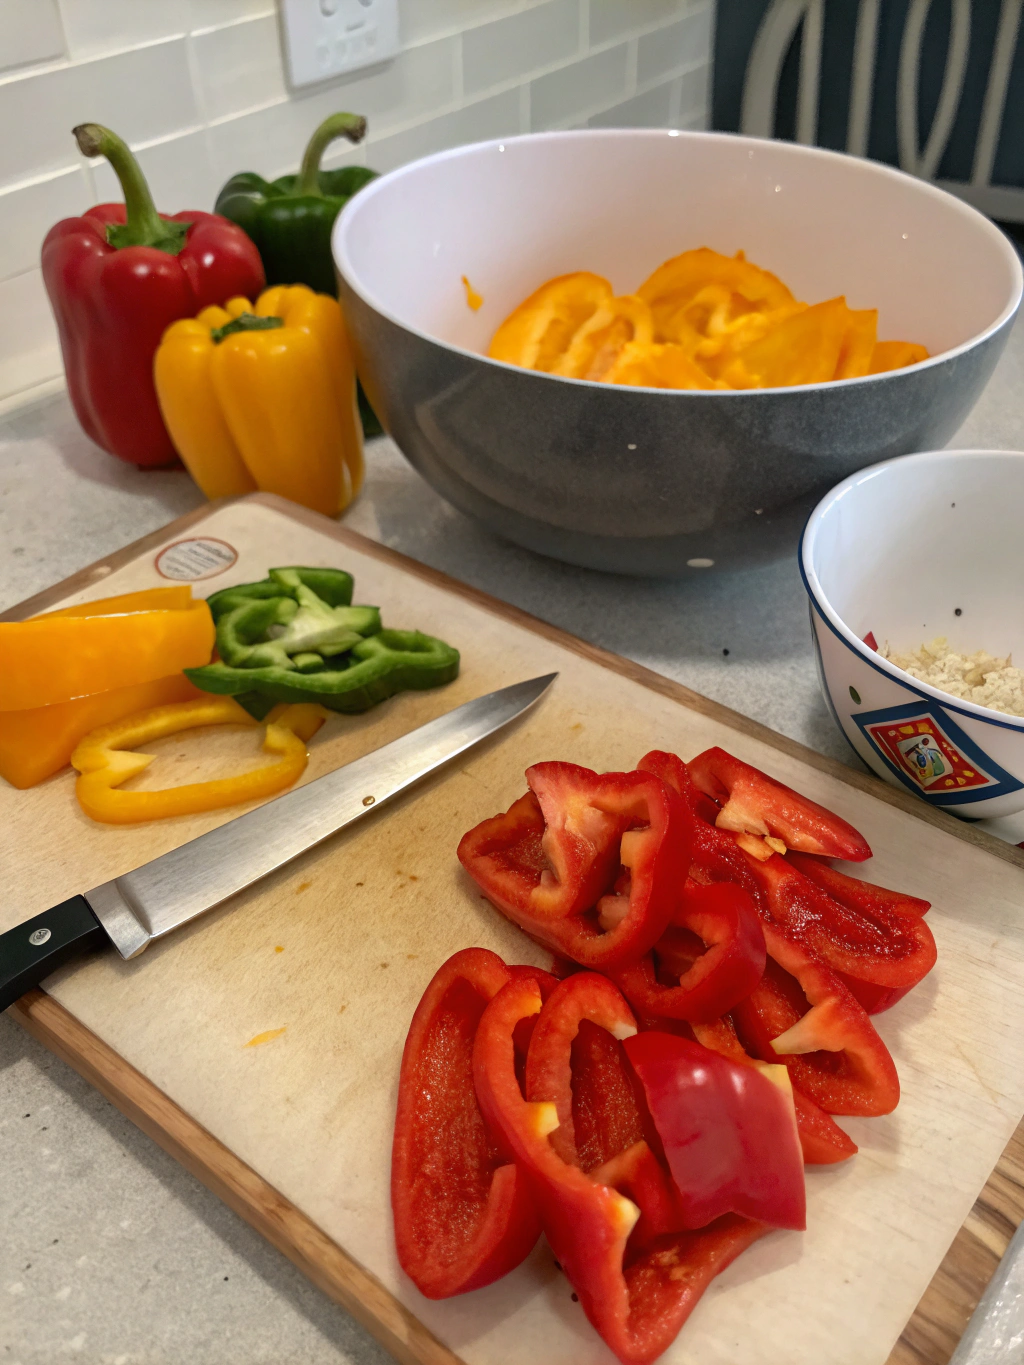
Step 1: Select and Wash Your Bell Peppers
Choose firm, brightly colored bell peppers without soft spots or wrinkles. The vibrant, glossy peppers not only indicate freshness but will maintain better texture after freezing. Thoroughly rinse your peppers under cool running water, gently rubbing the surface to remove any dirt or residue. Pat them completely dry with paper towels—this crucial step prevents ice crystals from forming during freezing, which can damage the cell structure and create mushy peppers after thawing.
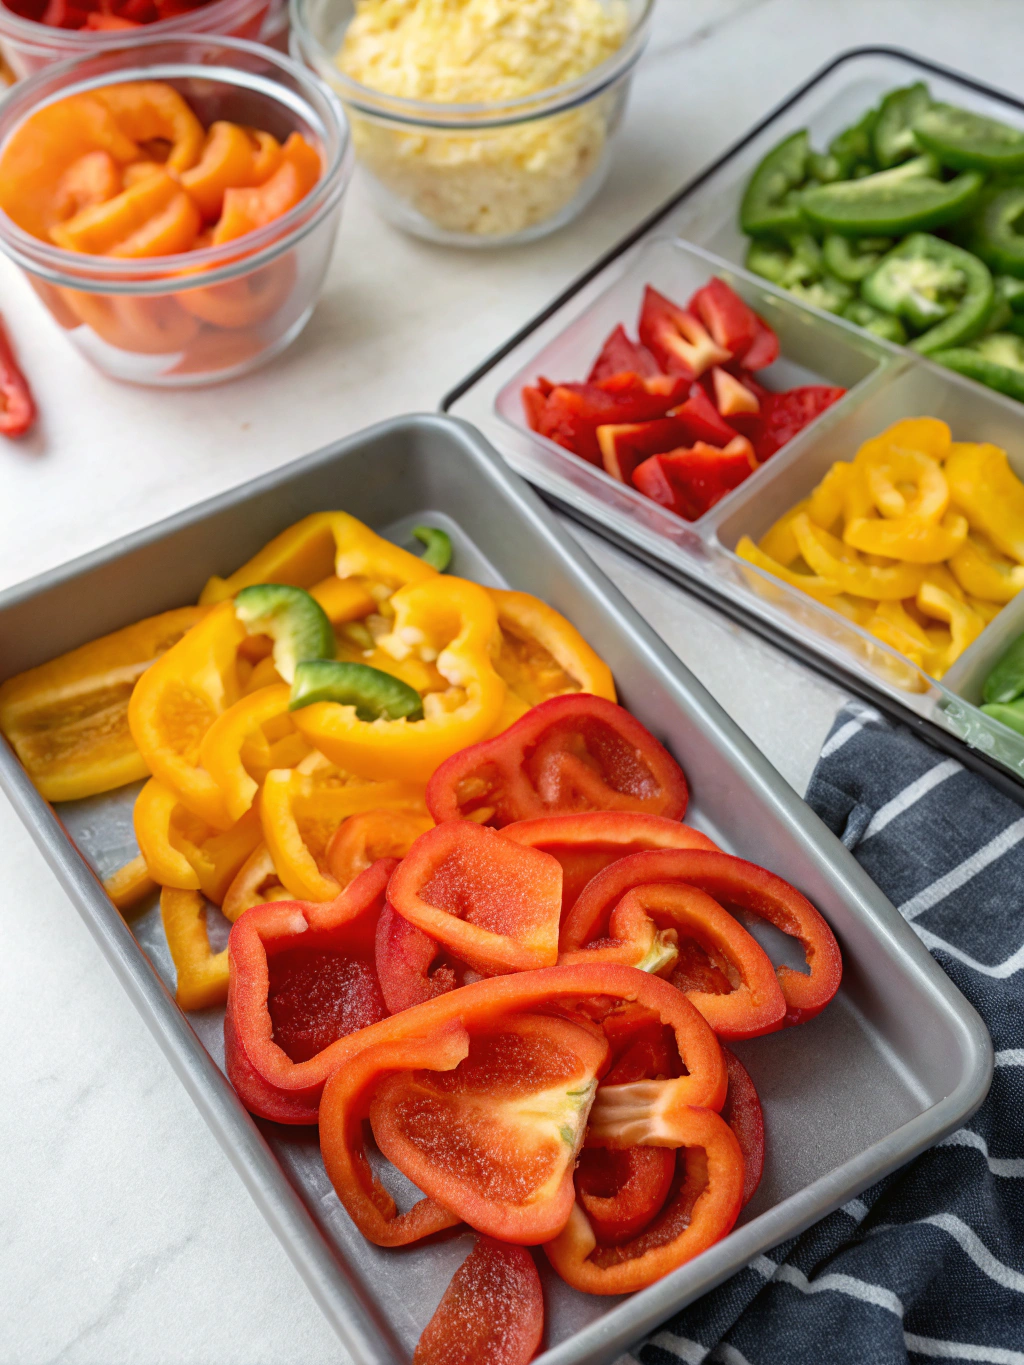
Step 2: Remove Seeds and Cut
Place your bell pepper on a cutting board and slice off the top around the stem. Use your fingers or a spoon to scoop out the white membrane and seeds. For Freeze Bell peppers that maintain their best texture, avoid rinsing the inside after removing seeds as additional moisture can compromise quality. Cut the peppers according to your future needs—strips for fajitas and stir-fries, diced for omelettes and sauces, or halved for stuffed peppers. Consistent sizing ensures even freezing and convenient future use.
Step 3: Flash Freeze the Prepared Peppers
Line a baking sheet with parchment paper and spread your cut peppers in a single layer, ensuring pieces don’t touch each other. This arrangement prevents the peppers from freezing together in one large clump. Place the baking sheet in your freezer for 1-2 hours until the pieces are firm to the touch. This individual quick-freeze method makes it possible to grab just the amount you need later without thawing the entire batch.
Step 4: Package for Long-Term Storage
Once frozen solid, quickly transfer the pepper pieces to freezer bags or airtight containers. Work efficiently to prevent thawing, which can make peppers stick together. Before sealing, press out as much air as possible from the bags—air is the enemy of frozen foods as it can contribute to freezer burn. For optimal results, consider investing in a vacuum sealer, which can extend freezer life by up to 6 additional months by removing virtually all air.
Step 5: Label, Date, and Store
Using a permanent marker, clearly label each package with the contents, quantity, and date. This simple organizational step prevents the “mystery package” syndrome in your freezer and helps you use older items first. Store your packaged peppers in the coldest part of your freezer, away from the door to minimize temperature fluctuations. Properly stored, your bell peppers will maintain optimal quality for 10-12 months.
Nutritional Information
Frozen bell peppers retain approximately 90% of their vitamin C content when properly frozen—significantly higher than peppers stored in the refrigerator for just one week, which lose up to 40% of their vitamin C. A half-cup serving of frozen bell peppers contains:
- Calories: 15-20
- Carbohydrates: 3-4g
- Fiber: 1-2g
- Vitamin C: 95% of daily recommended intake (for red peppers)
- Vitamin A: 8% of daily recommended intake
- Zero fat and cholesterol
Healthier Alternatives for the Recipe
While freezing bell peppers is already a healthy preservation method that doesn’t require additives, consider these enhancements:
- Freeze roasted bell peppers for a smoky flavor that reduces the need for added salt in recipes
- Create ready-to-use soup starter packages by combining diced bell peppers with onions and celery
- For health-conscious meal prep, portion peppers in exact serving sizes aligned with your nutritional goals
Serving Suggestions
- Add frozen pepper strips directly to stir-fries and fajitas (no need to thaw)
- Incorporate diced frozen peppers into morning egg scrambles for a quick nutrition boost
- Blend still-frozen peppers into smoothies for added vitamins without affecting the temperature
- Use in homemade pizza toppings, pasta sauces, and soups
Common Mistakes to Avoid
- Skipping the drying step: Excess moisture leads to ice crystals and mushy texture
- Freezing whole peppers: These take up unnecessary freezer space and are less versatile
- Using regular storage bags: Standard bags aren’t thick enough to prevent freezer burn
- Forgetting to remove air: Air exposure is the primary cause of quality deterioration
- Refreezing after thawing: This dramatically decreases texture quality and increases bacterial risk
Storing Tips for the Recipe
Properly frozen bell peppers can last 10-12 months with minimal quality loss. For best results:
- Store at 0°F (-18°C) or below
- Use the oldest packages first for optimal flavor rotation
- When ready to use, measure out only what’s needed while keeping the rest frozen
- No need to thaw before cooking—add directly to hot pans for most recipes
- If thawed, use within 2-3 days and store in the refrigerator
Conclusion
Mastering how to freeze bell peppers is a simple yet powerful kitchen skill that saves money, reduces waste, and ensures you always have these nutritious vegetables ready for your favorite recipes. The five easy steps outlined—selecting, preparing, flash freezing, packaging, and proper storage—create a seamless system for preserving the vibrant colors, nutrients, and flavors of fresh bell peppers year-round. Put this technique into practice the next time you spot a great sale on peppers or when your garden produces more than you can immediately use. Your future self will thank you when you’re pulling farm-fresh flavor from your freezer in the middle of winter!
FAQs
Do I need to blanch bell peppers before freezing?
No, unlike many vegetables, bell peppers freeze well without blanching due to their high water content and cell structure.
How can I tell if my frozen bell peppers are still good?
Look for ice crystals inside the package or discoloration. If peppers develop a slimy texture after thawing or have an off smell, discard them.
Can I freeze stuffed bell peppers?
Yes! Prepare and cook them as usual, cool completely, then wrap individually and freeze for easy meals.
Will frozen bell peppers be crisp when thawed?
No, freezing alters the cell structure of peppers, making them softer. They’re best used in cooked dishes rather than raw applications.
Is it better to freeze peppers raw or cooked?
It depends on your intended use. Raw peppers are more versatile, while roasted or sautéed peppers are ready for immediate use in recipes where that flavor profile is desired.