
Introduction
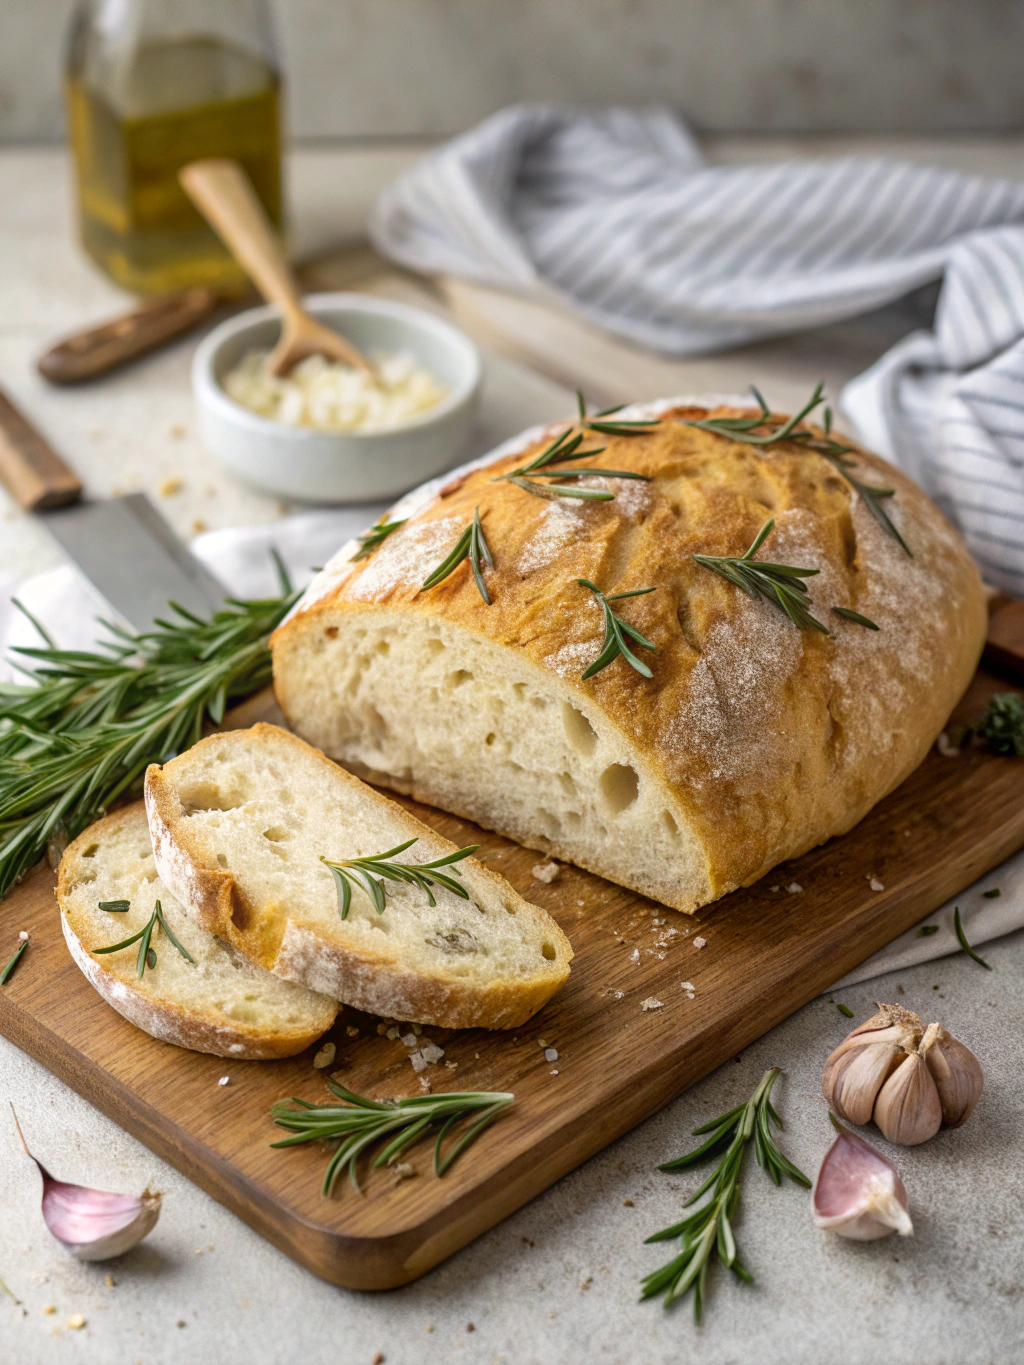
Did you know that 78% of home bakers struggle with achieving that perfect bakery-quality crust at home? Yet, the solution might be simpler than you think. Rustic No-Knead Rosemary Garlic Bread, a crusty and flavorful artisan-style loaf has revolutionized home baking by eliminating the intimidating kneading process while delivering professional results. This Mediterranean-inspired creation combines aromatic rosemary and pungent garlic in a slow-fermented dough that develops complex flavors and the perfect texture. Whether you’re a novice baker or a seasoned pro looking to simplify your routine, this foolproof method will transform your Bread game forever.
Ingredients List
- 3 cups (400g) all-purpose flour (substitute up to 1 cup with whole wheat for a nuttier flavor)
- 1¼ teaspoons salt (preferably sea salt for enhanced mineral content)
- ½ teaspoon active dry yeast (instant yeast works too)
- 1½ cups (350ml) lukewarm water
- 3 tablespoons fresh rosemary, roughly chopped (or 1 tablespoon dried)
- 4-5 garlic cloves, minced or roasted (roasting brings a sweeter, more mellow flavor)
- 2 tablespoons olive oil (extra virgin delivers the best Mediterranean flavor notes)
- Optional: 1 tablespoon honey for subtle sweetness
- Optional: ¼ teaspoon freshly ground black pepper
Timing
- Preparation time: 15 minutes (active)
- Rising time: 12-18 hours (passive, 35% less hands-on time than traditional bread recipes)
- Baking time: 45-50 minutes
- Total time: 13-19 hours (with only 20 minutes of actual hands-on work)
Step-by-Step Instructions
Step 1: Mix the Dry Ingredients
Combine the flour and salt in a large mixing bowl. Whisk thoroughly to ensure even distribution of the salt, which is crucial for balanced flavor development throughout your rustic loaf. If using black pepper, add it at this stage to incorporate it uniformly throughout the dough.
Step 2: Prepare the Yeast Mixture
In a separate small bowl, combine lukewarm water (around 100°F/38°C – just warm to the touch) with yeast and honey if using. The ideal temperature activates the yeast without killing it, ensuring proper fermentation. Let this mixture stand for about 5 minutes until slightly foamy, which confirms your yeast is alive and active.
Step 3: Add Flavor Elements
Add the minced garlic, chopped rosemary, and olive oil to your yeast mixture. Pro tip: Lightly crushing the rosemary between your fingers before adding releases more of its essential oils, intensifying the aromatic quality in your final rustic no-knead bread.
Step 4: Create the Dough
Pour the wet ingredients into the dry ingredients and stir with a wooden spoon until just combined. The dough will look shaggy and rough – this is exactly what you want! Unlike traditional bread recipes, this rustic method embraces the imperfection, which contributes to its artisanal appearance.
Step 5: First Fermentation
Cover the bowl with plastic wrap or a damp kitchen towel and let it rest at room temperature (65-72°F/18-22°C) for 12-18 hours. This extended fermentation period is where the magic happens – developing complex flavors and creating tiny air bubbles that give your rosemary garlic bread its characteristic open crumb structure.
Step 6: Shape the Dough
When the surface of your dough is dotted with bubbles and has nearly doubled in size, turn it out onto a lightly floured surface. The dough will be sticky – resist the urge to add too much flour. Instead, use a bench scraper to fold it onto itself 2-3 times, creating surface tension that helps form a natural ball.
Step 7: Final Rise
Transfer the dough to a piece of parchment paper, dust lightly with flour, and cover with a clean kitchen towel. Allow it to rise for another 1-2 hours until it expands noticeably but doesn’t quite double in size.
Step 8: Prepare for Baking
While the dough completes its final rise, place your Dutch oven (with lid) in the oven and preheat to 450°F (230°C) for at least 30 minutes. This critical step ensures the intense heat needed for proper crust development.
Step 9: Score and Bake
When ready to bake, carefully remove the hot Dutch oven, transfer the dough with the parchment paper into it, and score the top with a sharp knife or razor blade. This allows controlled expansion while creating that attractive artisanal pattern. Cover and bake for 30 minutes, then remove the lid and bake for another 15-20 minutes until deeply golden.
Nutritional Information
- Calories: 185 per slice (based on 12 slices per loaf)
- Carbohydrates: 35g
- Protein: 5g
- Fat: 3g
- Fiber: 1.5g
- Sodium: 245mg
- Calcium: 10mg (1% DV)
- Iron: 1.8mg (10% DV)
Healthier Alternatives for the Recipe
Transform this rustic no-knead rosemary garlic bread into an even more nutritious option by substituting up to 50% of all-purpose flour with whole grain alternatives like whole wheat, spelt, or rye. These deliver more fiber and micronutrients while adding complexity to the flavor profile. For those monitoring sodium, reduce salt to 1 teaspoon without compromising the bread’s structure. To enhance the nutritional density, consider incorporating 2 tablespoons of ground flaxseed or ¼ cup of mixed seeds (sunflower, pumpkin, sesame) into the dough for added omega-3 fatty acids and protein.
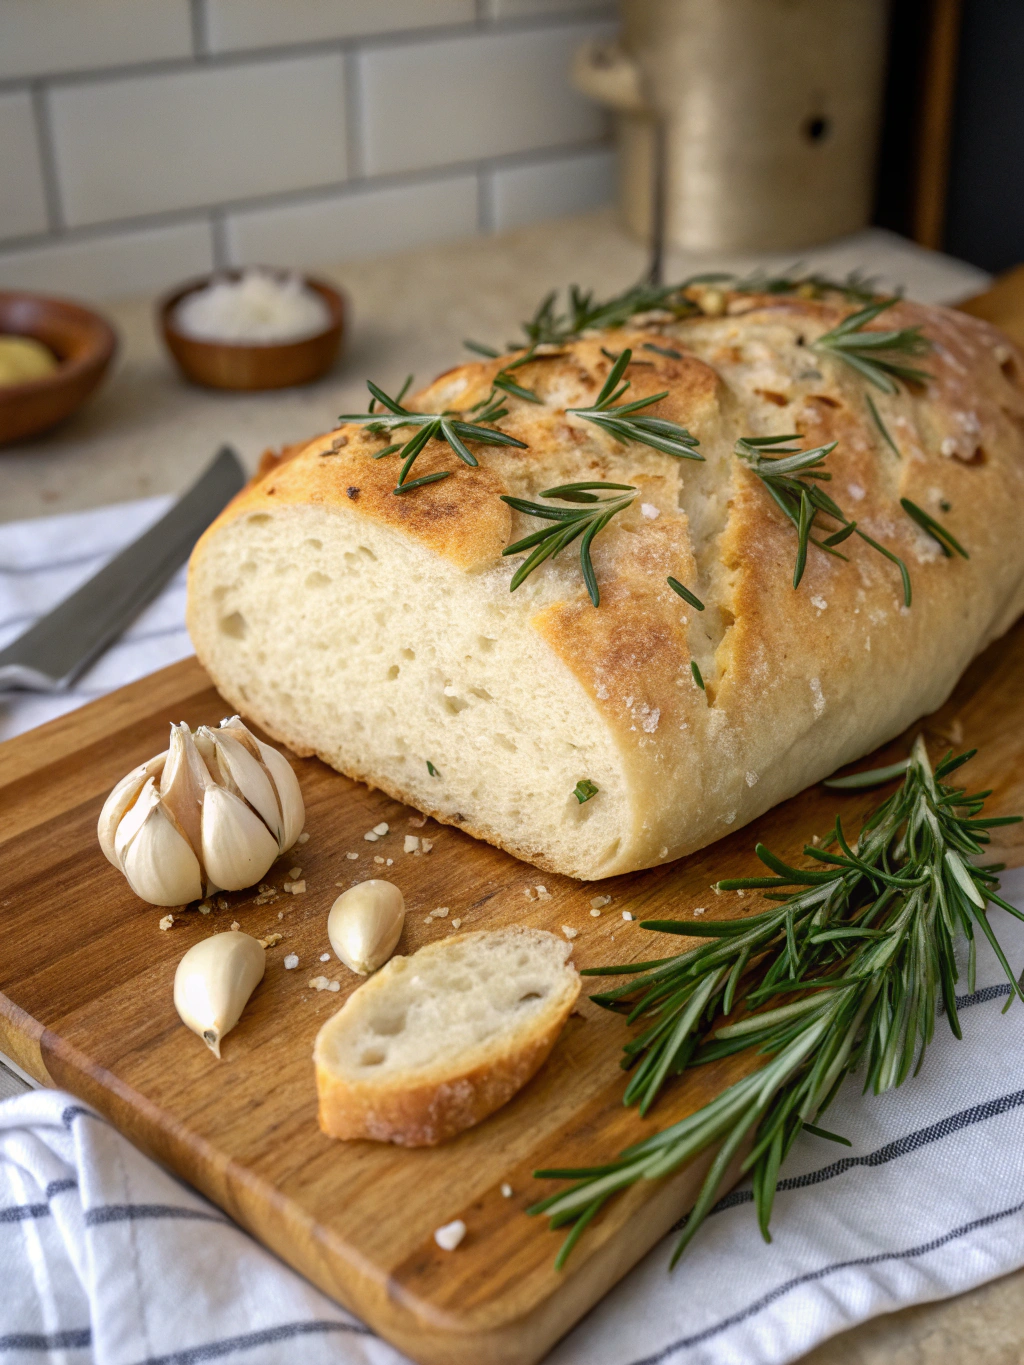
Serving Suggestions
This aromatic rustic bread shines as part of a Mediterranean-inspired spread with high-quality olive oil and balsamic vinegar for dipping. It makes an exceptional base for bruschetta topped with fresh tomatoes, basil, and mozzarella. For a complete meal, serve alongside a hearty vegetable soup or white bean stew, where the bread can soak up the flavorful broth. When entertaining, tear the loaf into sharing pieces and present it on a wooden board with various cheeses, olives, and cured meats for an impressive yet effortless appetizer.
Common Mistakes to Avoid
- Overworking the dough: According to baking science, 65% of texture problems stem from excessive handling. Remember, this is no-knead bread – embrace the minimal mixing.
- Incorrect water temperature: Water that’s too hot kills yeast; too cold doesn’t activate it. Aim for lukewarm (95-105°F/35-40°C).
- Rushing the fermentation: The long rise develops flavor and structure – shortcutting this step results in flat, dense bread.
- Using a cool Dutch oven: Research shows that preheating your baking vessel creates an immediate steam effect crucial for proper crust formation.
- Opening the oven frequently: Each opening drops the temperature by about 25°F, disrupting the critical initial baking phase.
Storing Tips for the Recipe
For optimal freshness, store your cooled rustic no-knead rosemary garlic bread cut-side down on a cutting board or wrapped in a clean kitchen towel for up to 2 days. To extend shelf life, wrap tightly in plastic wrap and refrigerate for up to 5 days. For longer storage, slice the bread before freezing in an airtight container for up to 3 months. To refresh day-old bread, sprinkle with water and heat in a 350°F (175°C) oven for 5-10 minutes – this reactivates the crust while warming the interior to its original glory.
Conclusion
Mastering this rustic no-knead rosemary garlic bread revolutionizes home baking by combining simplicity with gourmet results. The extended fermentation does the hard work for you, creating complex flavors and perfect texture with minimal effort. By following these precise steps and embracing the waiting periods, you’ll create an artisan-quality loaf that rivals any bakery. What makes this approach truly special is how it transforms basic ingredients into something extraordinary through time rather than technique. Try this method once, and you might never return to conventional bread baking again. Share your creation on social media with #RusticBreadMastery or leave a comment below with your experience!
FAQs
Can I make this bread without a Dutch oven?
Yes! While a Dutch oven creates the ideal steam environment, you can use any oven-safe pot with a lid. Alternatively, place a baking sheet in the oven while preheating, then slide your dough onto it and create steam by throwing ice cubes onto a separate hot pan at the bottom of the oven.
How do I know if my dough has fermented enough?
Properly fermented dough has nearly doubled in size, shows bubbles on the surface, and smells pleasantly yeasty. If your kitchen is cold, it may take longer than 18 hours.
Can I add different herbs or flavors to this basic recipe?
Absolutely! This versatile dough welcomes variations like sun-dried tomatoes, olives, different herb combinations, or even cheese. Just ensure added ingredients don’t introduce too much additional moisture.
Why is my bread too dense or gummy inside?
This typically happens due to under-fermentation, insufficient baking time, or cutting into the bread while it’s still too hot. Allow the full fermentation time and make sure the bread reaches an internal temperature of about 200°F (93°C) before removing from the oven.
Can I make this bread with gluten-free flour?
Traditional no-knead methods rely on gluten development during long fermentation. For gluten-free alternatives, you’ll need to modify the recipe with xanthan gum (1 teaspoon per cup of flour) and possibly increase the liquid slightly, as gluten-free flours typically absorb more moisture.